This year for our little Thanksgiving, Devin and I skipped the main meal and went straight to leftovers, opting for sandwiches instead of a main course. I loved what we ate so much that I decided to put all the recipes here so that we can find them in future years, when I hope we will be able to share them with more of the people we love. They’re also good recipes for anyone who’s wondering what to do with leftover turkey (or tofurkey : ), an extra bag of cranberries, or frozen green beans.

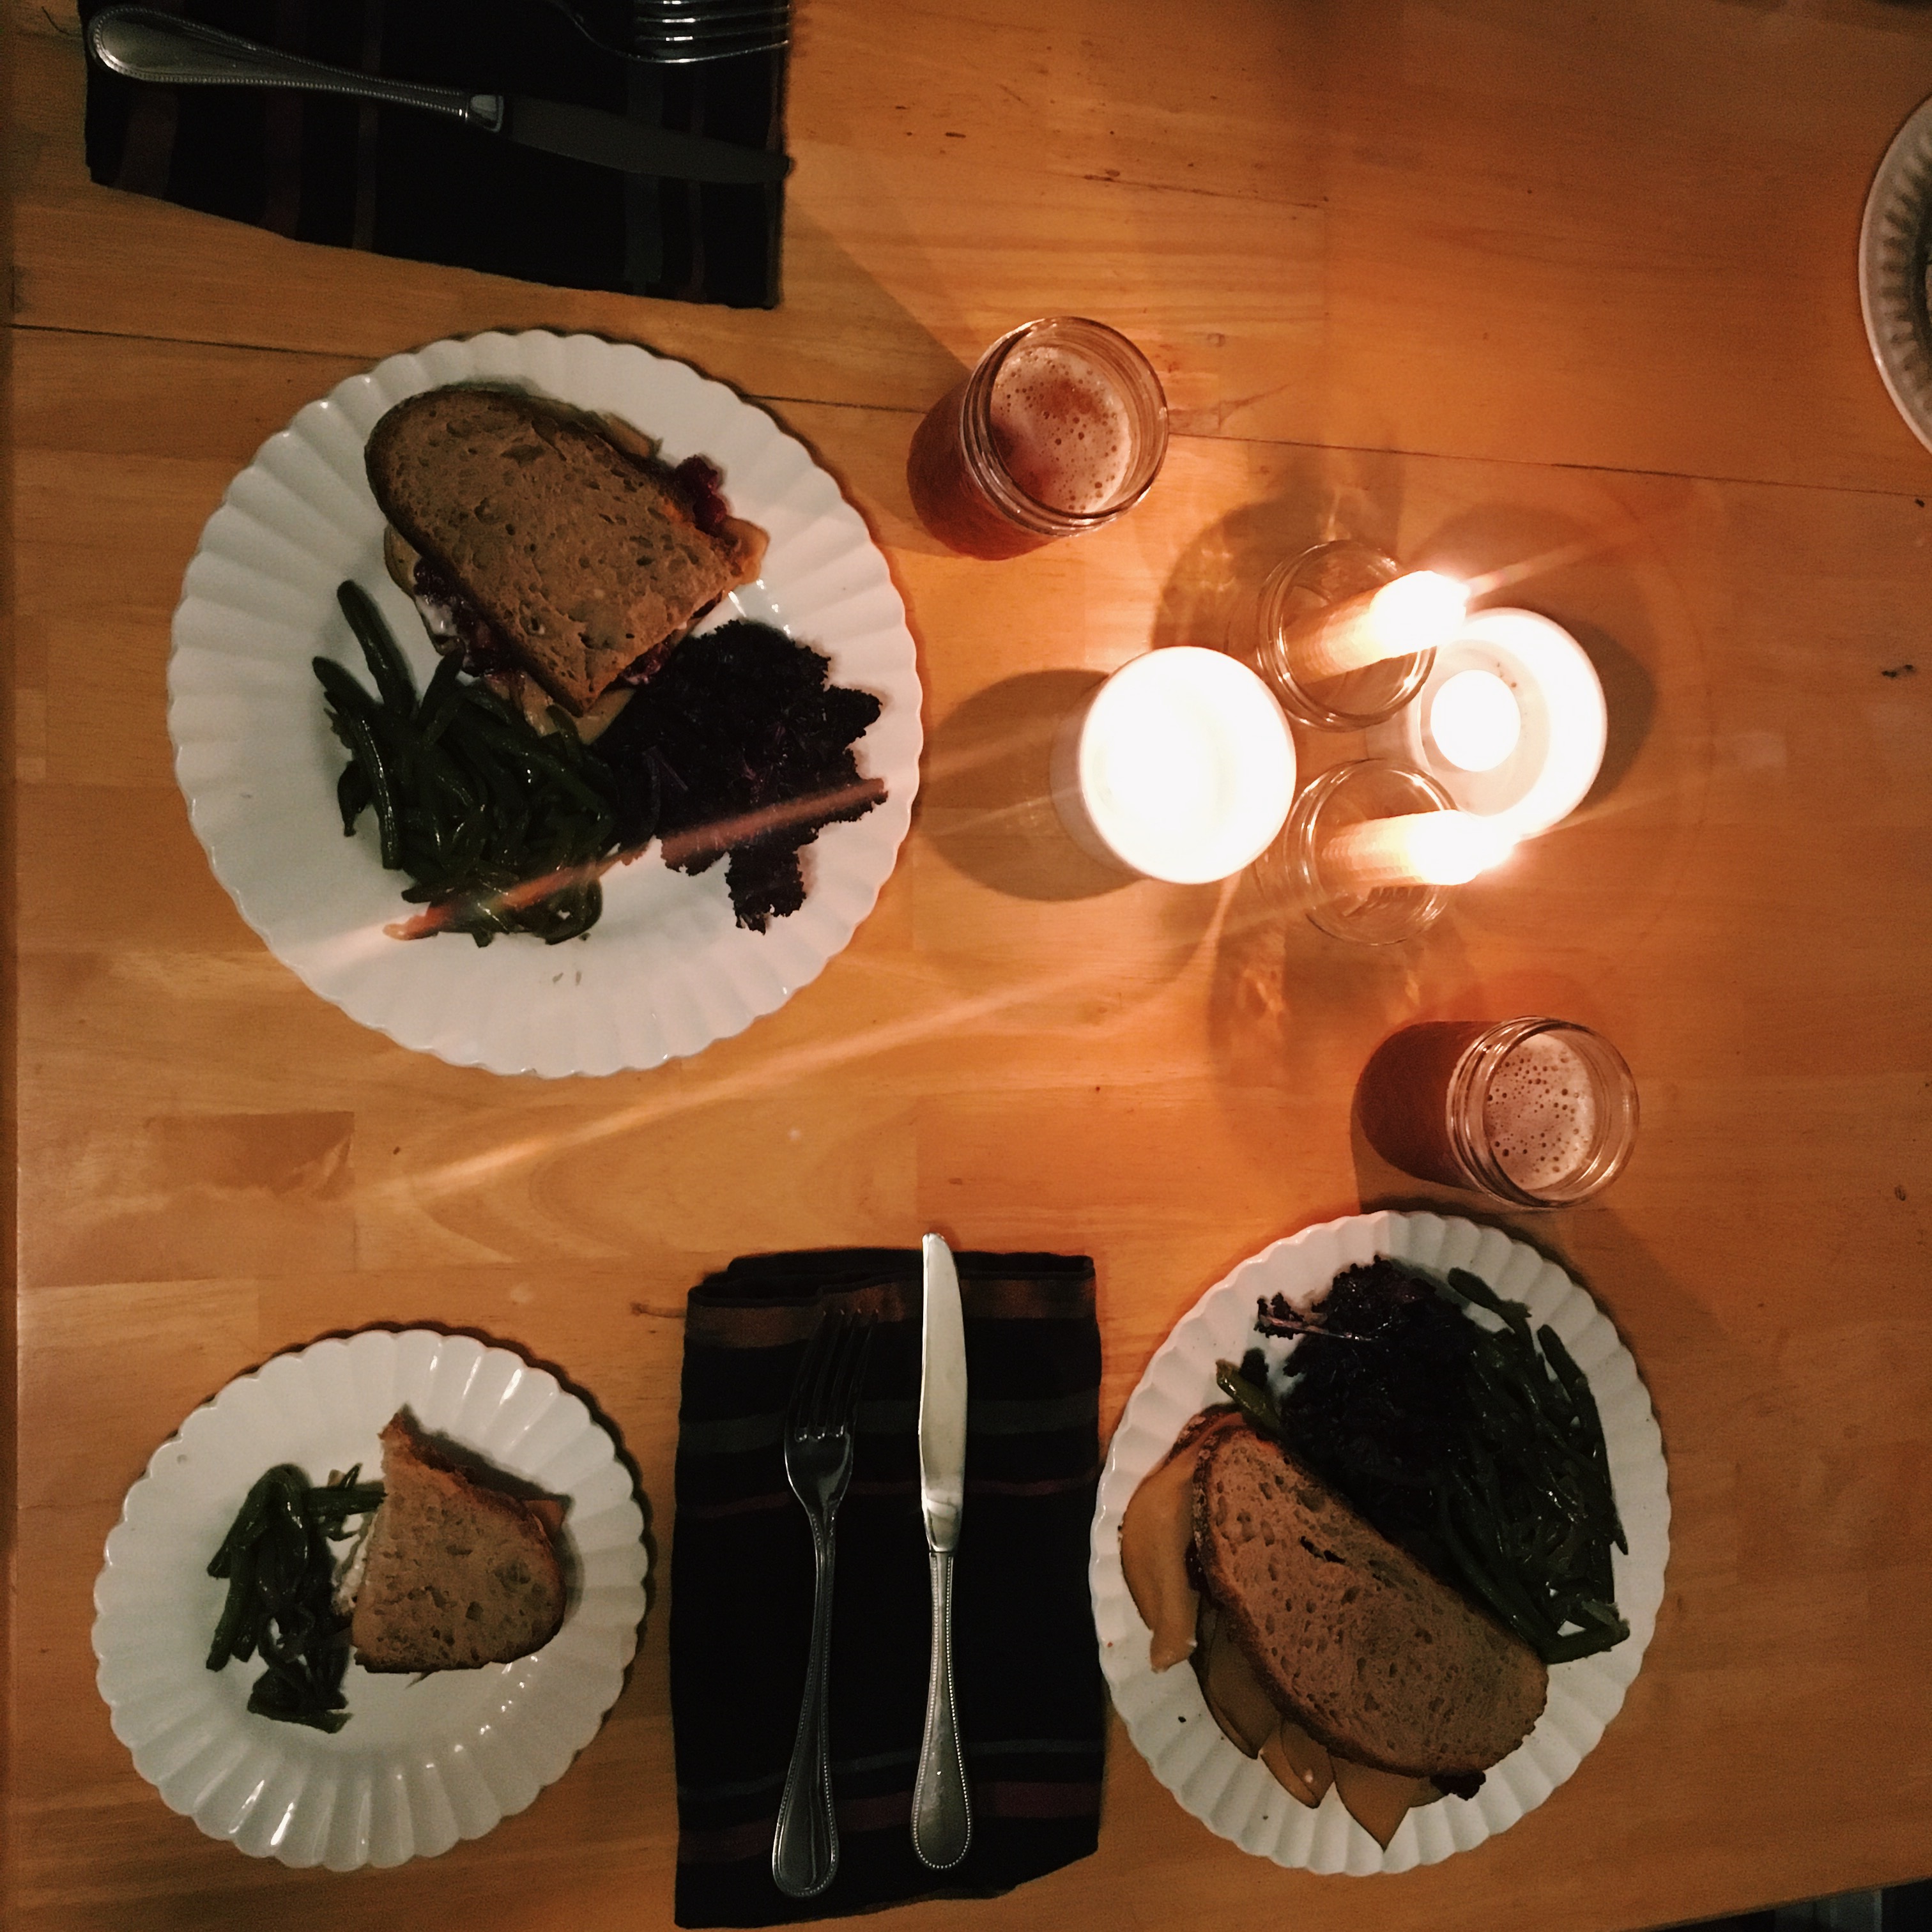
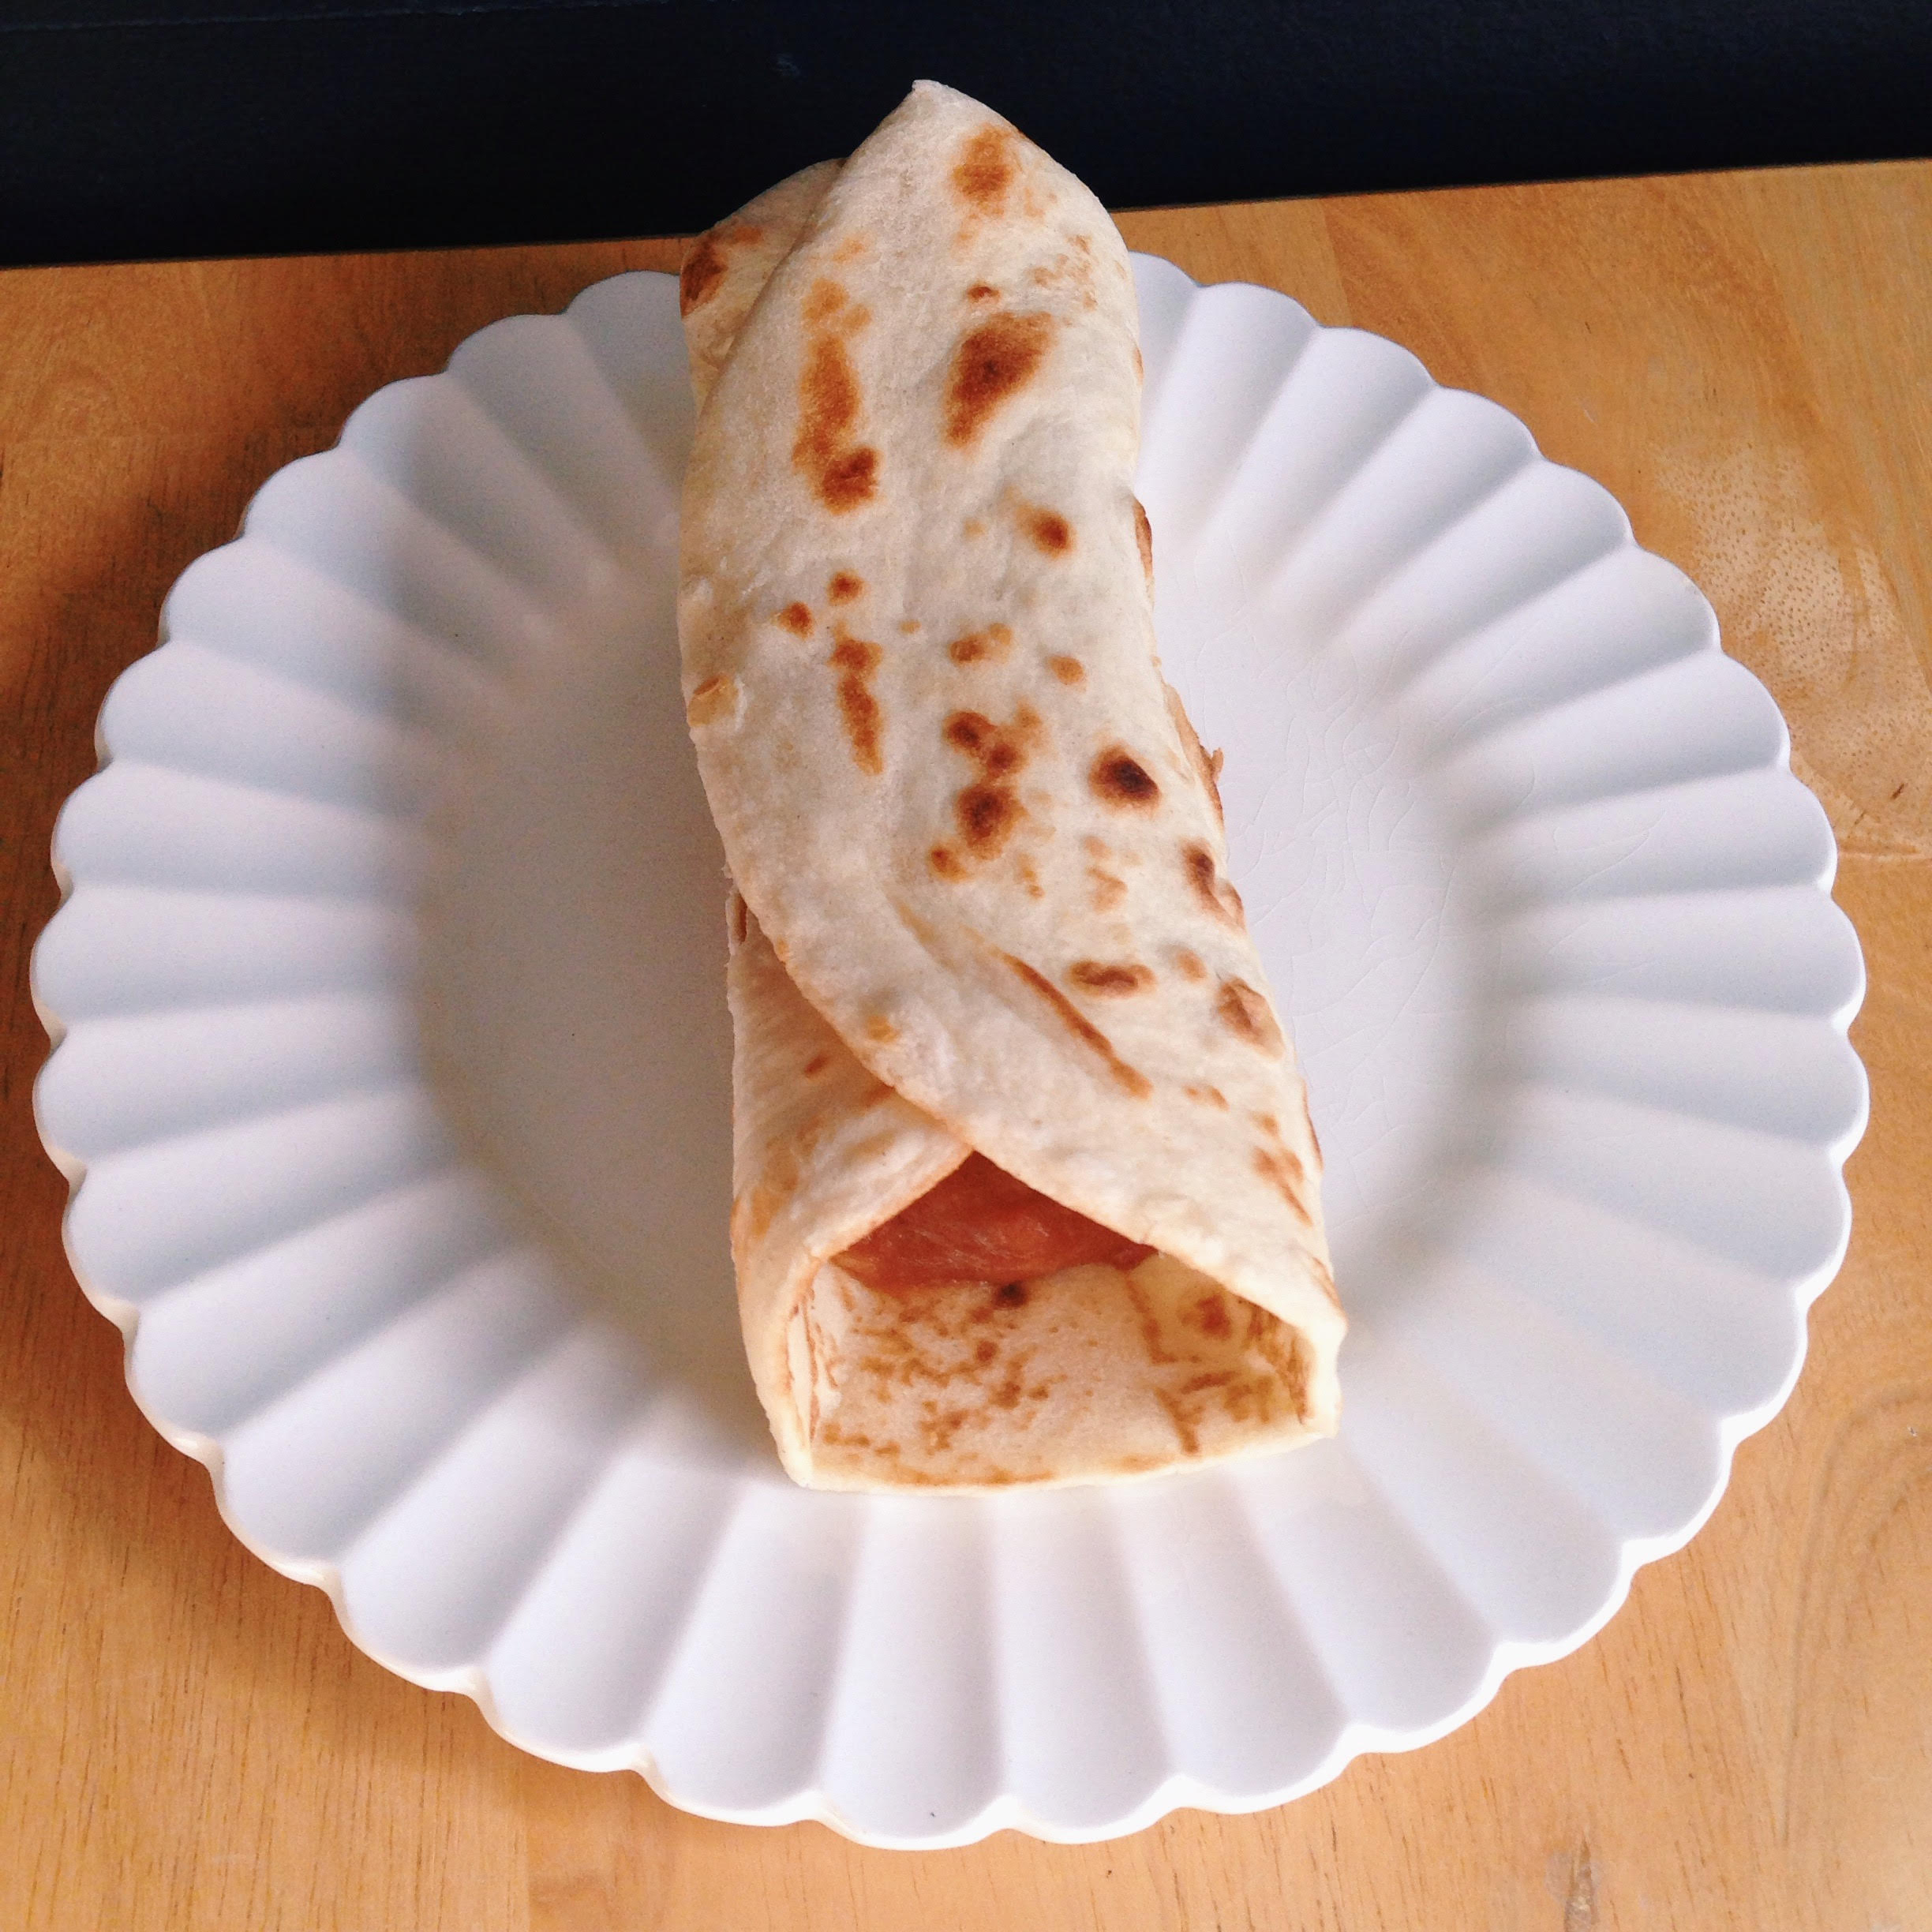
OK, so first things first: The Sandwich.
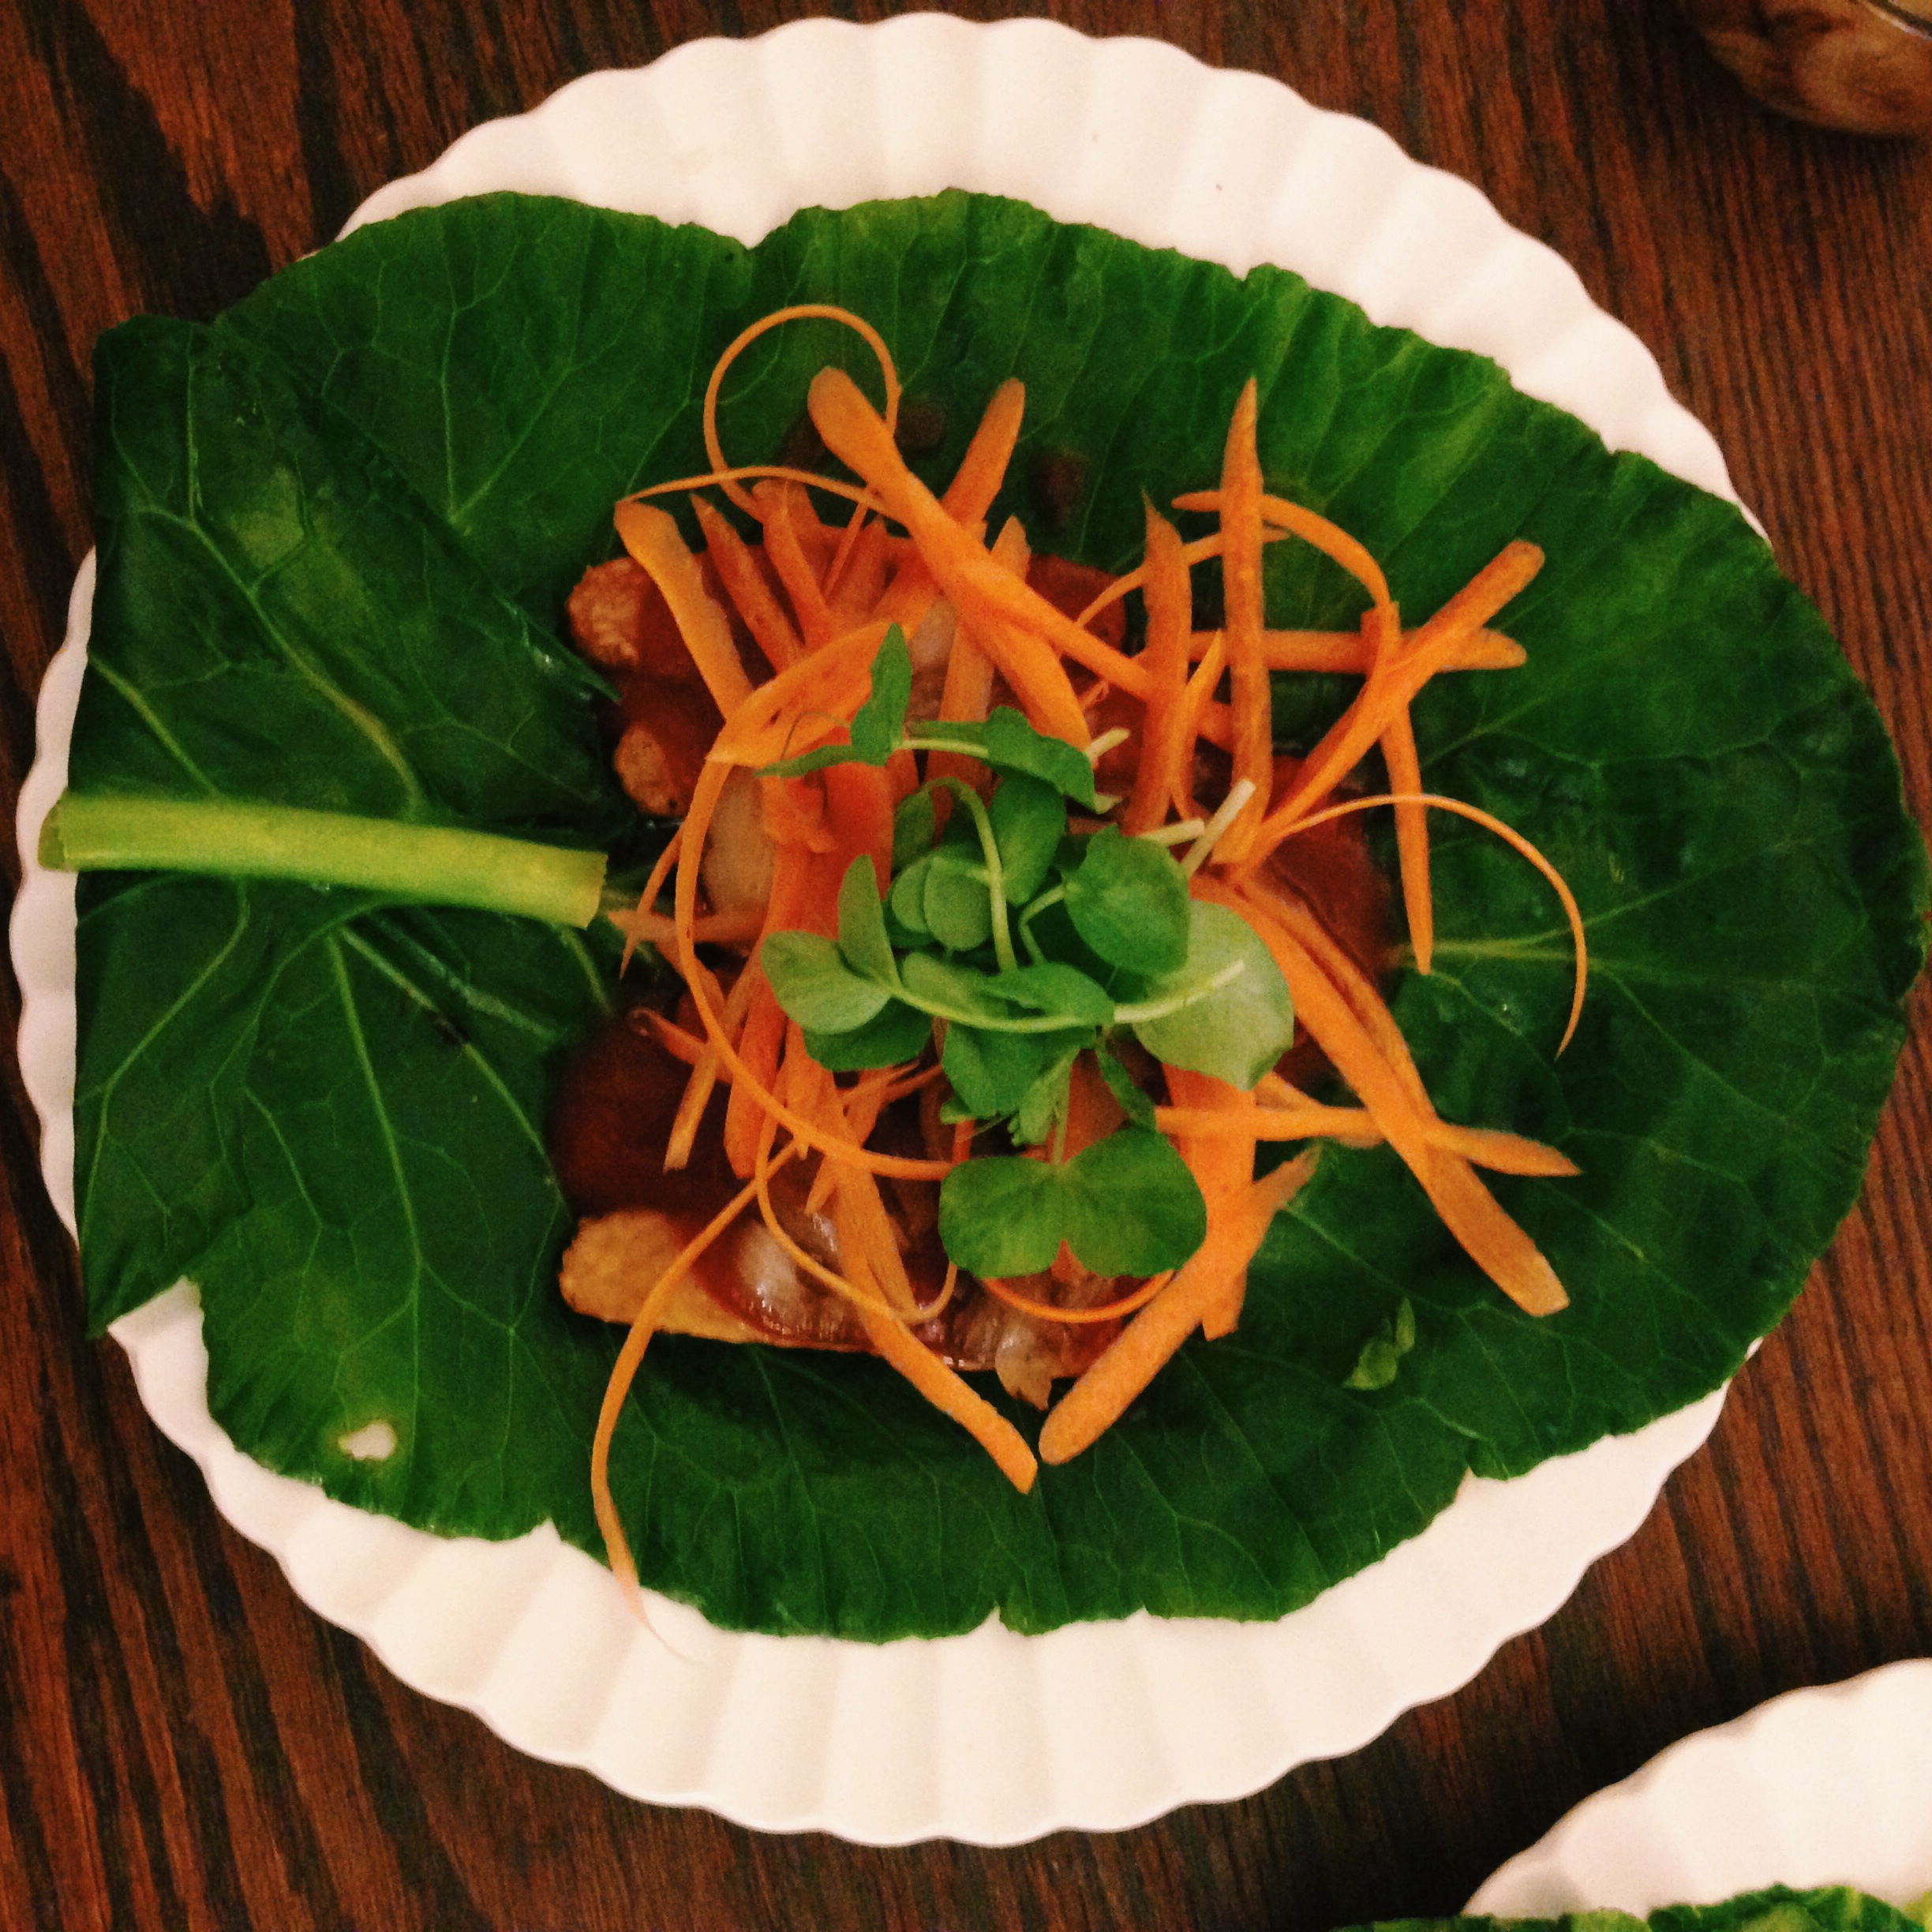
Devin made sourdough bread using a recipe from Flour, Water, Salt, Yeast, a very good cookbook for any aspiring breadmakers. The bread was fresh from the oven, and we just added a little mayo (my favorite kind is Just Mayo, but any kind works) and some tofurkey (but you could use turkey or any other kind of meat or “meat.” My favorite are the Tofurky-brand Hickory Smoked deli slices. Non-vegetarians are always skeptical, but everyone I’ve fed them to in the past 15 years has loved them!) The crucial finishing touch for this sandwich was cranberry chipotle sauce (see recipe below).
Cranberry Chipotle Sauce
- 1 12-oz bag of fresh or frozen cranberries
- 1/2 cup sugar
- 1/4 cup maple syrup
- 1 or 2 minced chipotle peppers in adobo, depending on how spicy you want it to be. If you don’t have a can of chipotles in adobo, use 1/2 tsp. or 1 tsp. of chipotle powder.
- 1 orange, juiced
- 1/8 teaspoon cumin
- 1/8 teaspoon cinnamon
Combine all the ingredients in a small pot and cook over medium heat until the cranberries begin to burst (about 5 minutes). Lower the heat to medium low and cook for 5–10 more minutes. You’ll know it’s ready when the mixture has thickened up. This recipe is adapted from Alyssa & Carla.
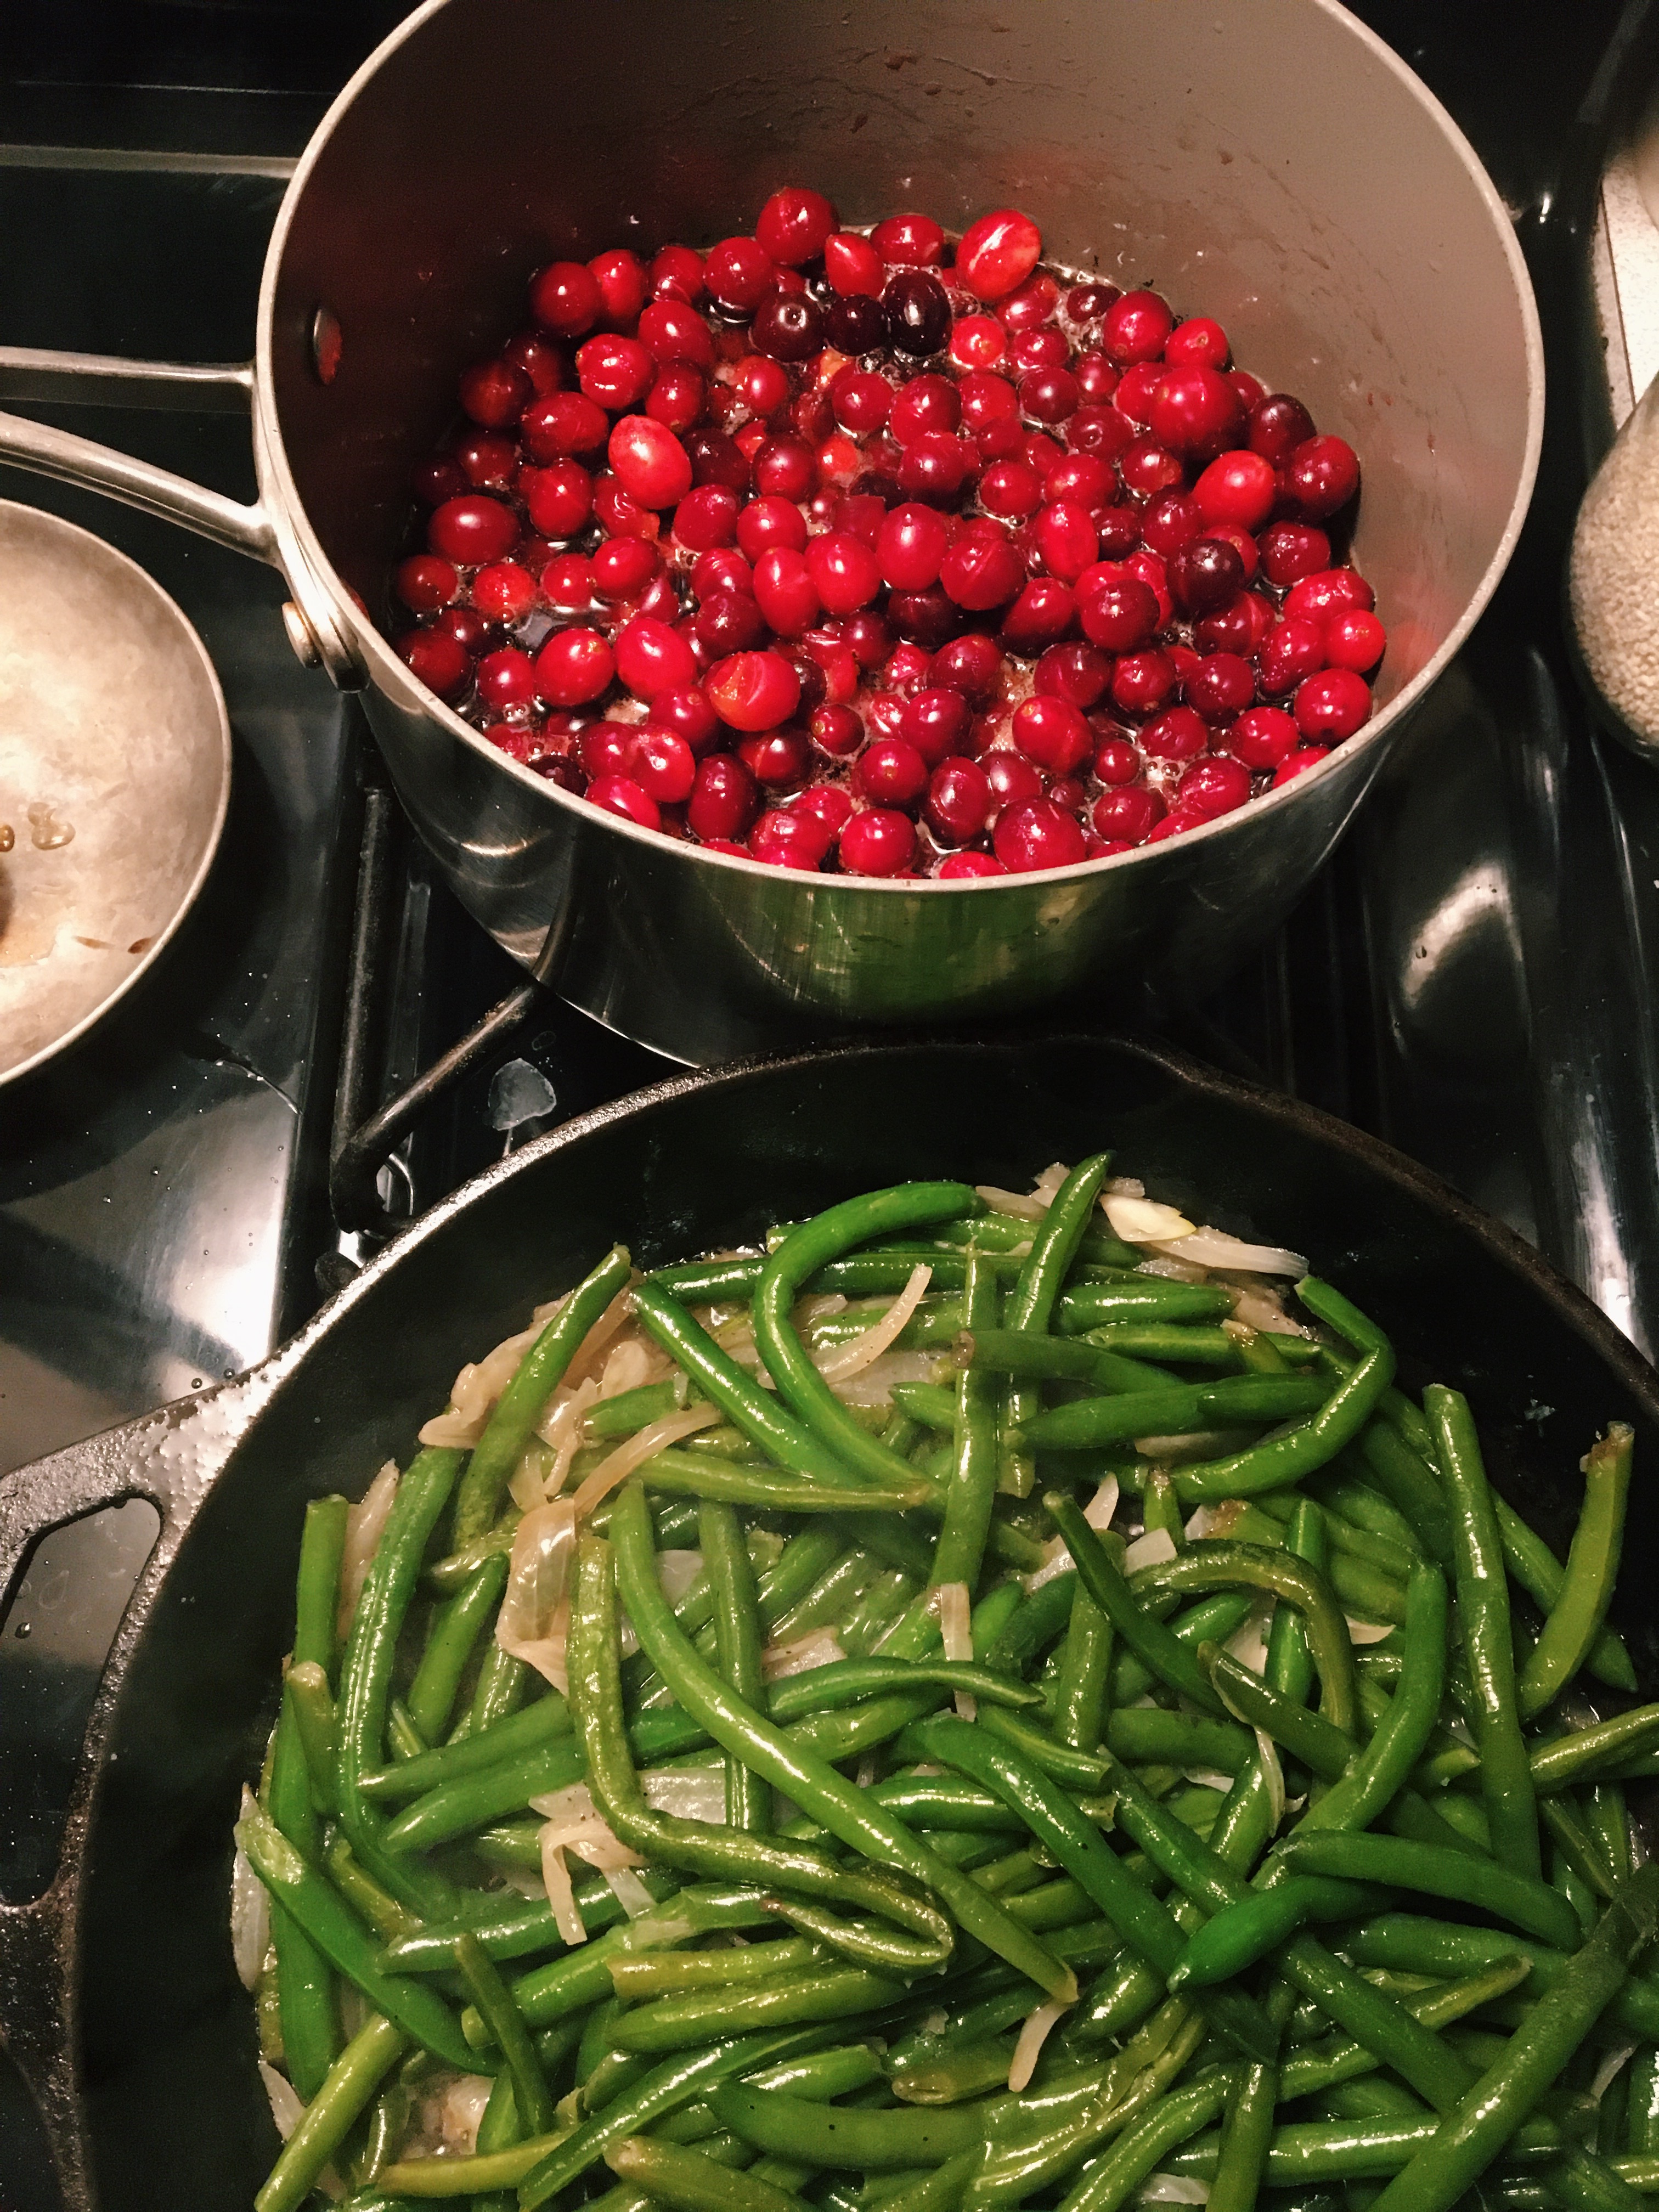
Caramelized Green Beans
We also ended up with a big bag of frozen green beans, so I tried to find a new way to use them and ended up using this recipe by Lynne Curry. You can make it with butter, ghee, or olive oil, and we didn’t use the full amount (I think we used approximately 4 tbsps.). We also used onion instead of shallots and no mushrooms because we didn’t have any. The result were smooth creamy green beans that tasted like a whole other kind of vegetable, and best of all, no squeaking! (Have you ever noticed that frozen green beans usually turn out squeaky?)
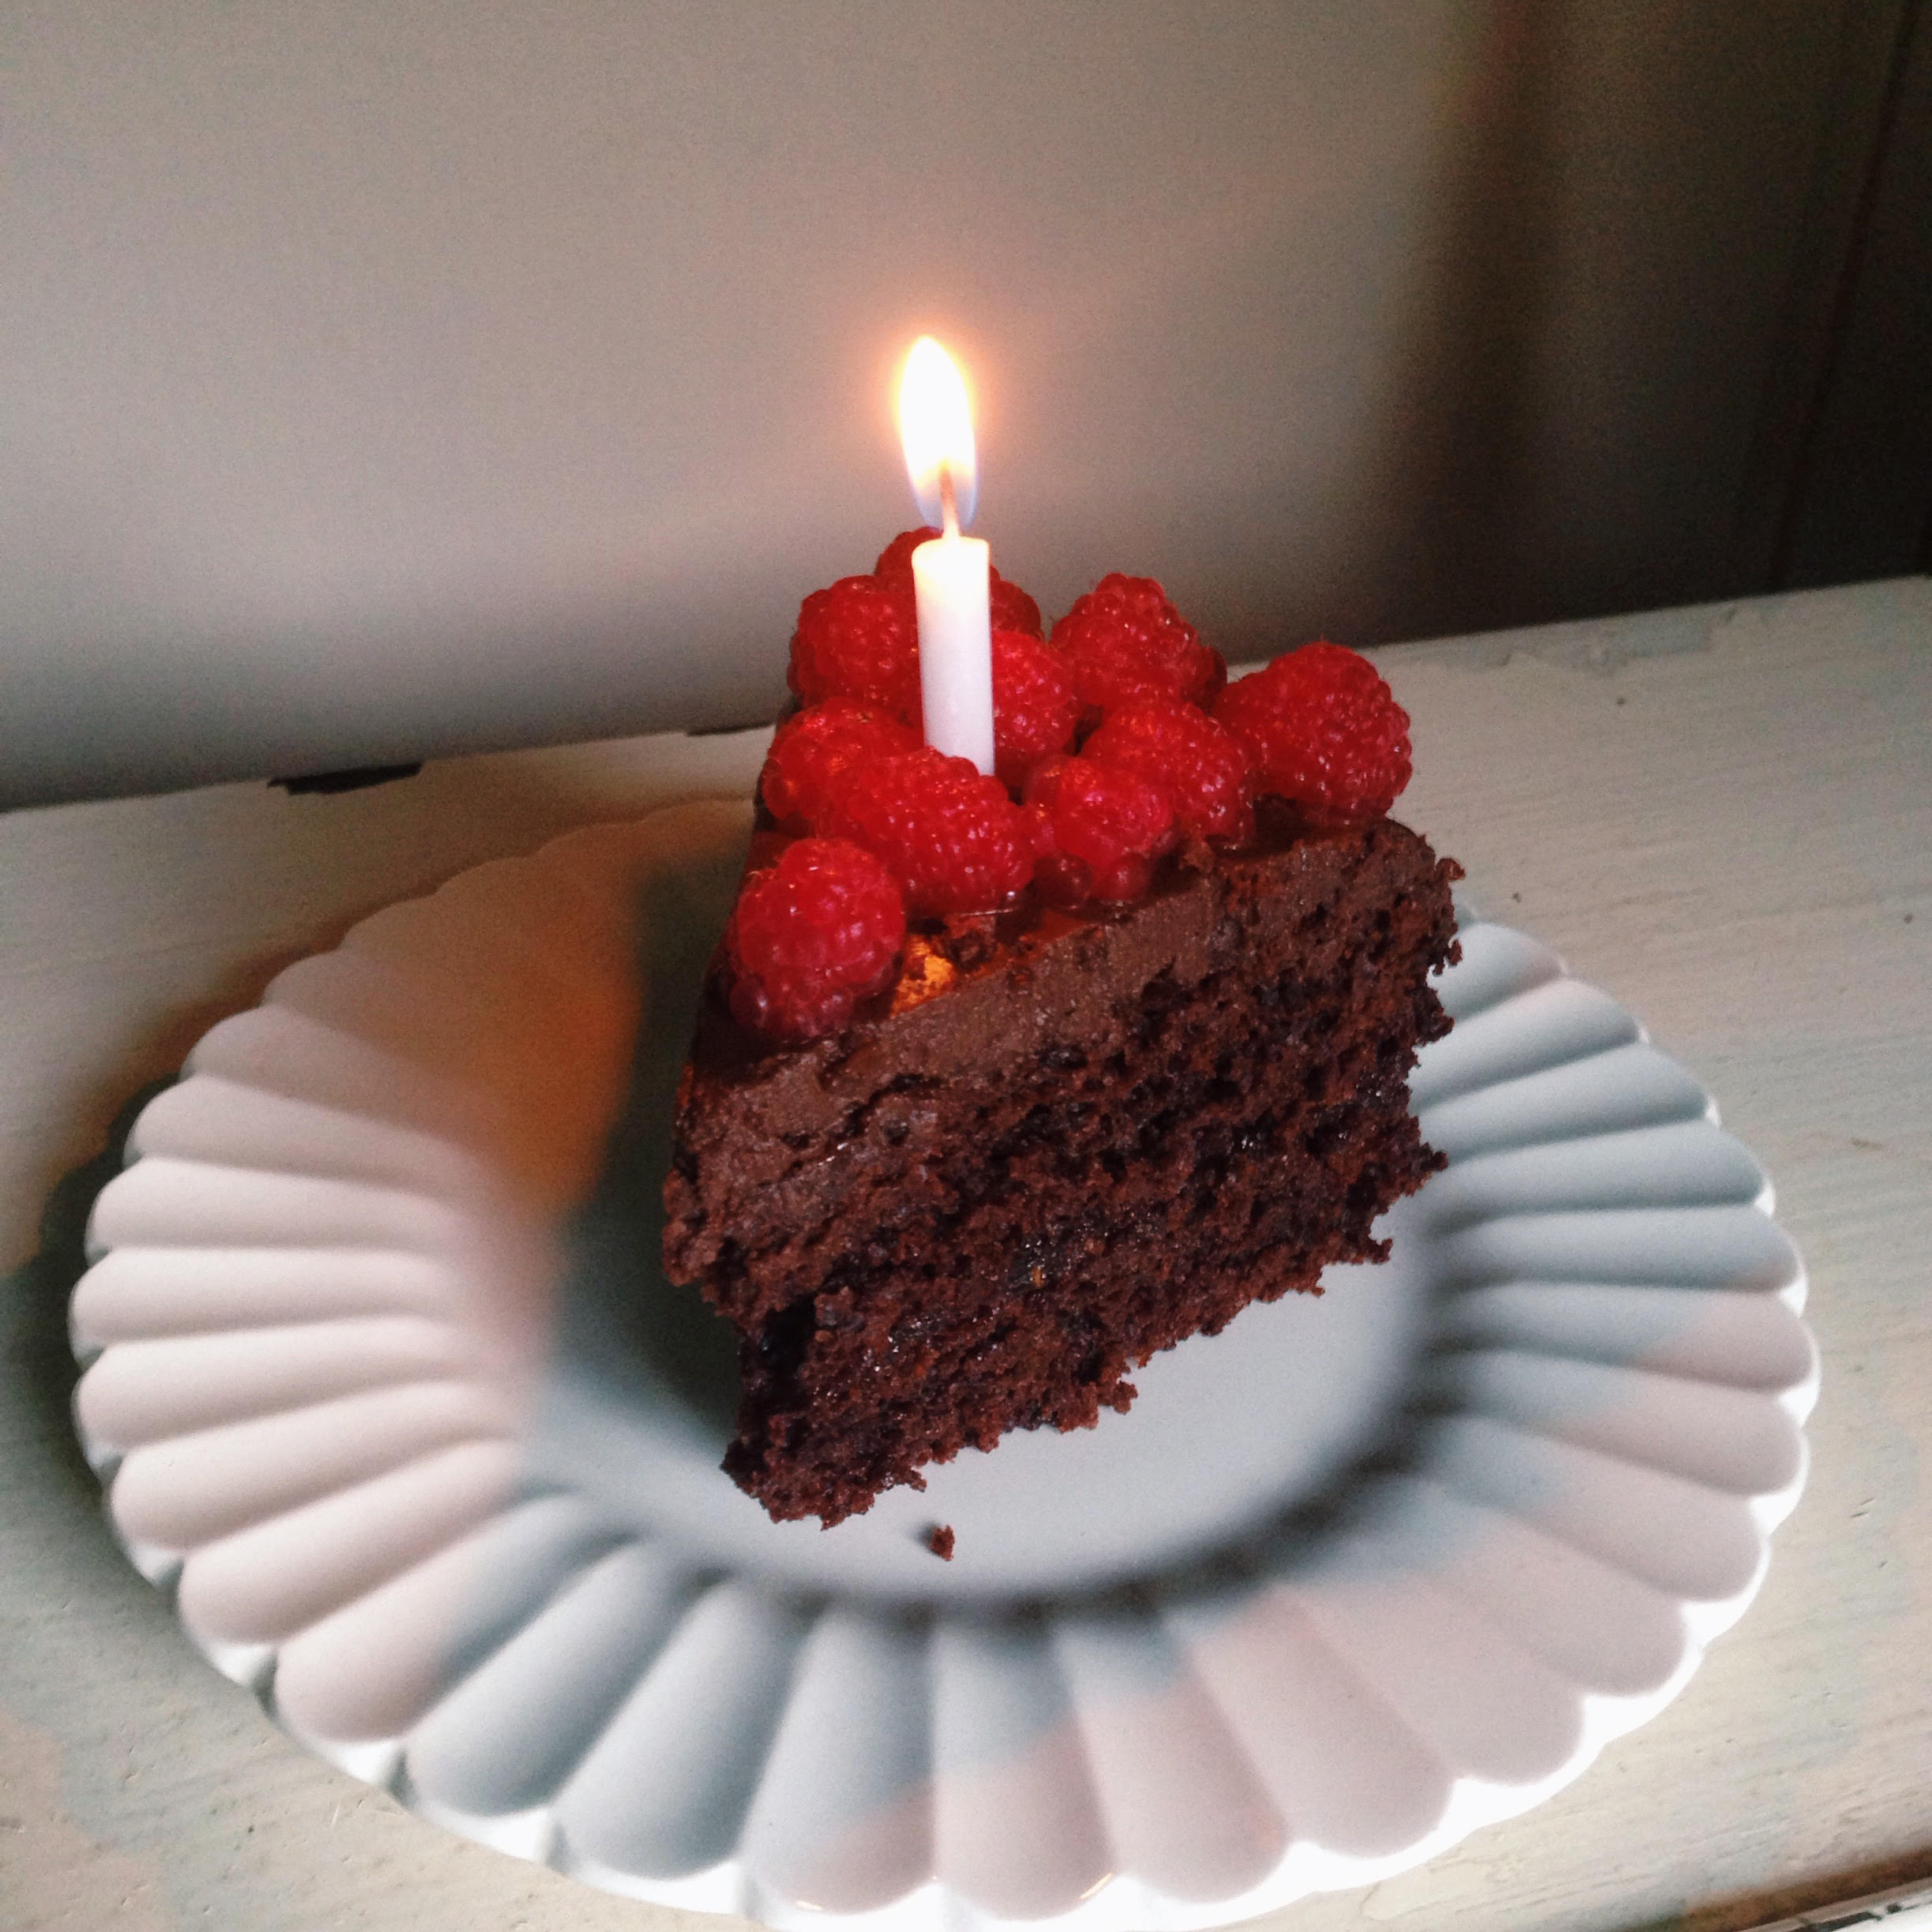
We also sautéed some purple kale and had it with our meal. Even though we missed being able to gather with friends and family, it felt special to make a meal, light some candles, and sit down to eat together. (Usually, Devin and I eat at totally different times, so it really felt like an occasion!) And we even dished up a little plate for Chloe.
I hope wherever you were, you felt loved and supported. These are hard times for all of us, but I’m finding hope in following the news about vaccines and improved treatments for COVID-19. Public health experts are still begging us to stay home, mask up, and practice social distancing,* but there is an end in sight, and I’m praying that we can all hug and breathe the same air safely someday very soon.
*Did you know: in the U.S., we call staying six feet apart maintaining “social distance,” but in Mexico, it’s called “sana distancia,” which means “healthy distance.” I think that’s kind of beautiful.
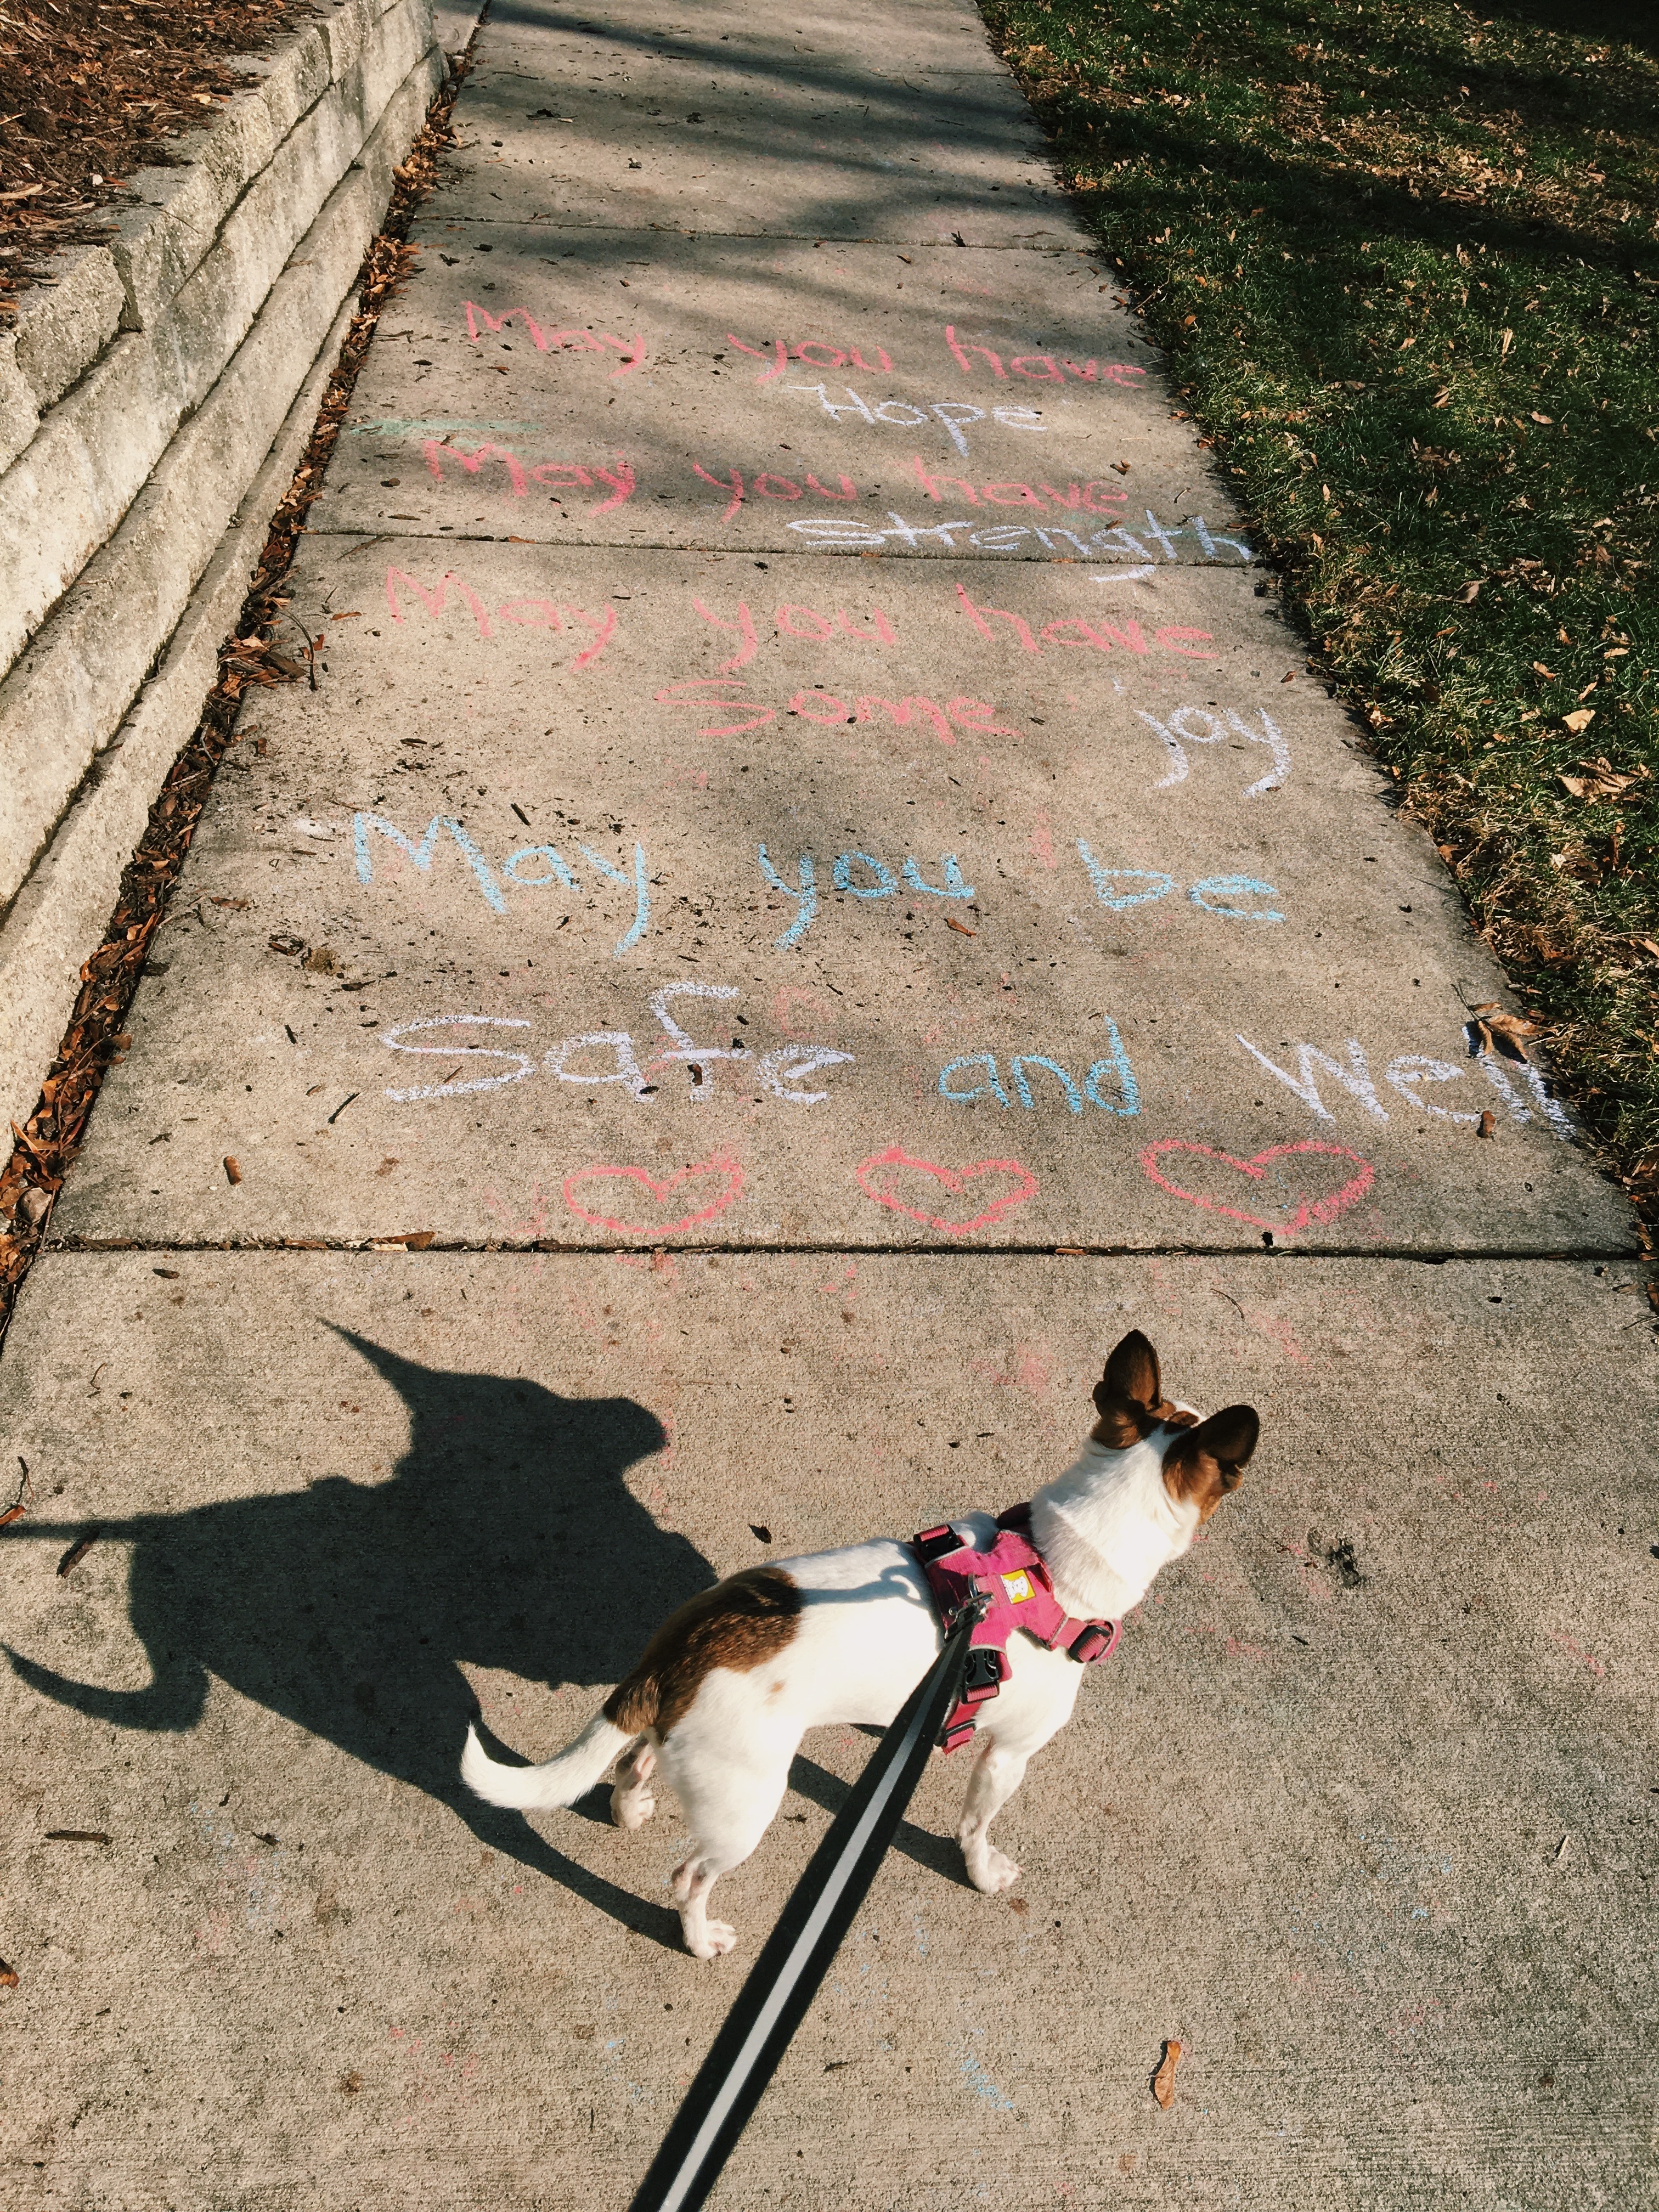
Here’s to healthy distance and better days ahead.

